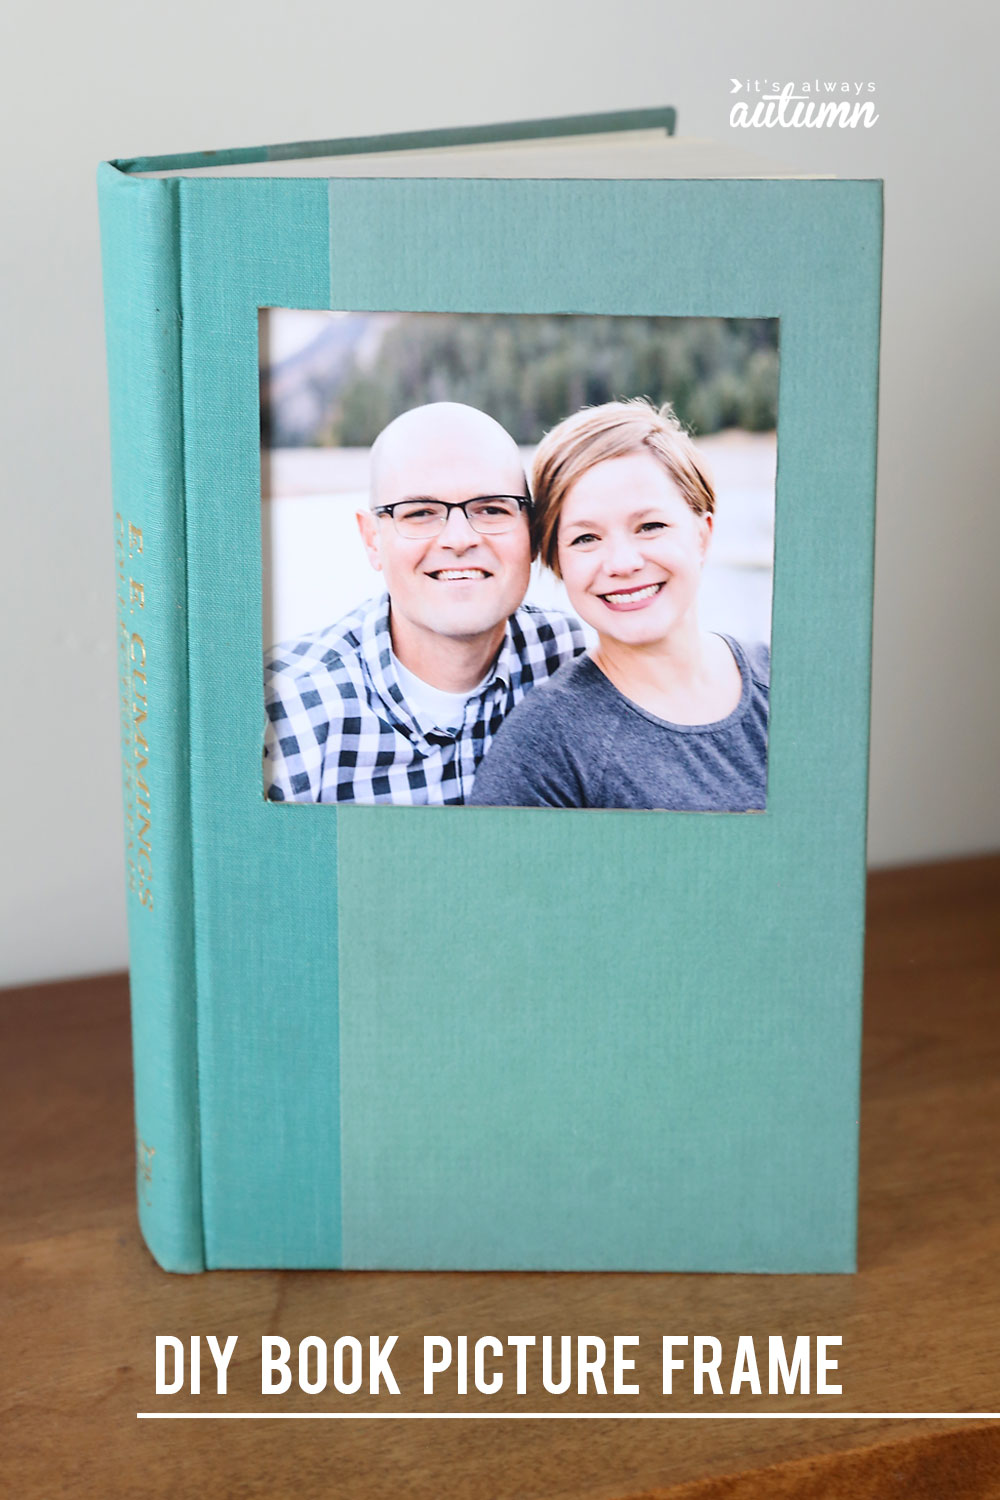
DIY book picture frame - easy photo craft idea
In today's post: Acquire how to turn an onetime difficult back book into a cool DIY volume motion-picture show frame.
One of the very outset craft ideas I posted on this web log was a picture frame made out of an old book. I've always loved this simple craft thought because it combines my two favorite home decor items: book and family photos. So I decided to revisit that thought terminal week and today I have new photos, new instructions, and a new video that shows you how to make your very own book film frame.
Discover 40+ cool photo crafts and photo gifts here and acquire how to make a photo explosion box hither
At that place are a couple of absurd things nearly this project: First, information technology doesn't harm either the volume or the photo. The book is nevertheless totally readable, and the photograph is totally removeable.

That's actually the 2d absurd thing about this project: because the photograph is removeable, information technology'due south easy to swap information technology out and bandy in a different one anytime you want.
And finally, this projection is only going to take you about 15 minutes. Aye, it requires some Exacto pocketknife wielding and a flake of elbow grease, simply you'll take plenty of time left over later on yous finish to, you know, read a book.

How to make a volume motion picture frame
Spotter this video to see how you brand your very book picture frame (written instructions follow).

Book photograph frame supplies
- Hardback book: You can find cheap books at used book stores, garage sales, the dollar store, or the library. Exist certain to remove the paper dust jacket to see what color the volume is and make sure either the forepart or dorsum comprehend is not covered in pictures or words.
- Abrupt exacto pocketknife: Seriously, you want it sharp, then grab a new bract if yours is getting dull.
- Metal edge ruler
- Acid-free folio protector: I used these from Amazon (affiliate link) ***optional, read instructions below
- Photos that are slightly smaller than your book
- Pencil, scissors, masking record, sheet of paper
- Cutting mat (optional but helpful)
Pace 1: Cut a paper rectangle that is slightly smaller than the photo yous will be using in your book frame. In the case below I planned to put a iv×6 photo in the book frame, so I cut a paper rectangle that is 3.5 by five.five.

Stride ii: Center the paper rectangle on the volume. It's worth using a ruler here to make certain the frame looks even once information technology's cutting. Once you lot're sure it'south centered, trace around the rectangle.

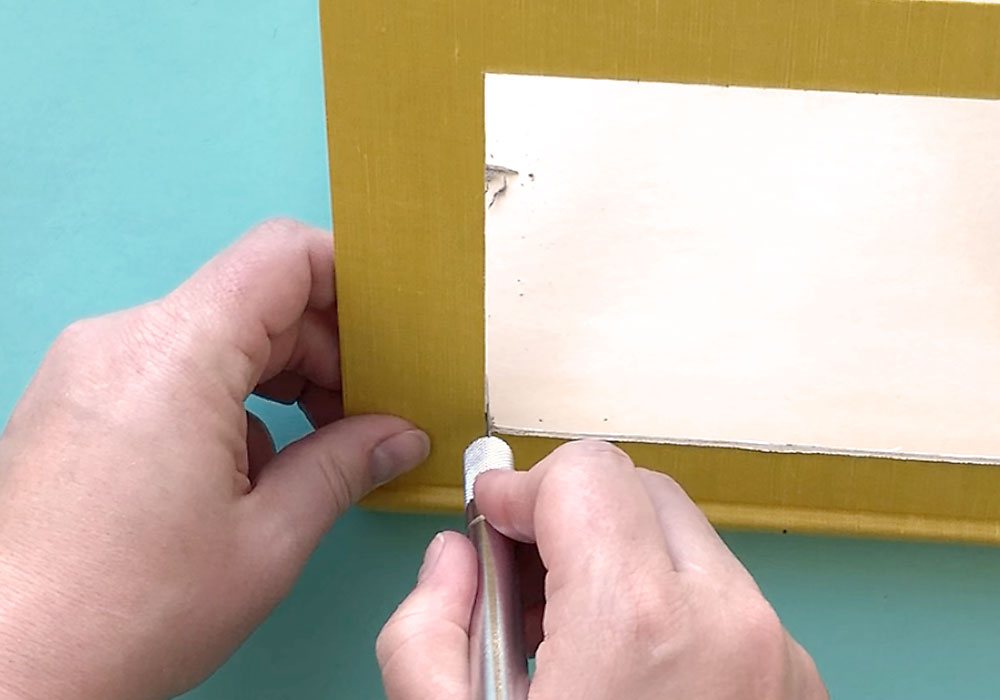
Step 3: Cut out the rectangle. This is where y'all demand your abrupt Exacto knife and metallic edge ruler. I like to slide a cutting mat under the book embrace to ensure I don't end up cutting through any pages of the book. Use the knife to cutting along the lines you only traced. Do NOT attempt to cut all the way through the volume on your first pass – it's not going to work and you'll end up pain yourself. Plan on 5-8 passes over each line, using house pressure. Delight be careful and DO Not let children to attempt this step.

Footstep four: Clean upward the frame. Once you lot've cut the opening out of the book embrace, there will probable be a few straggly bits of cover, particularly in the corners. Use your exacto knife to make clean those up if desired.
Footstep 5: Create a "sleeve" for your photograph. Slide your photo into an acid free page protector. Nestle information technology into a corner, then utilise scissors to trim simply outside the photo on the other two sides. On the role of the page protector that is behind the photo, cutting a "notch" on one brusque side (yous can come across the notch in the next photo).

Footstep 6: Tape the sleeve behind the opening. Place the sleeve backside the opening yous cutting in the book, and record it to the book along 3 sides. Go out one side open (where you cut a notch). This allows you to easily slide a photo in and out of the sleeve. I used masking tape in these photos. For longer, stronger concur, scotch tape would probably actually work improve.

And your book photograph frame is consummate! Someday y'all'd like to change the photo, just open the front cover, slide the old photograph out, and slide a new photo in.

One last notation: Using a plastic page protector keeps your photos clean and protected and I would definitely use one if you are displaying a photo that is sometime or difficult to replace. However, if you're displaying photos that are easily replaceable, you can skip that step and just tape whatever photo you'd like to use behind the opening.
If you similar photo projects, you're going to love these posts:
forty+ photograph crafts and photograph gifts
How to brand a photograph clock
How to make photo Christmas ornaments

Reader Interactions
Source: https://www.itsalwaysautumn.com/make-a-photo-frame-from-a-favorite-book.html
0 Response to "DIY book picture frame - easy photo craft idea"
Post a Comment